What this article sets out to solve
If you have a small program you want to put on the public internet without buying a server and standing up an environment just for it, Cloudflare Pages is a convenient choice: no server, no deployment environment to manage, and the whole flow from registering a domain to actually visiting your site takes about ten minutes.
There are five essential steps, and you can’t skip any of them:
- How to obtain a custom domain.
- How to host that domain with Cloudflare.
- How to create a KV namespace as backing storage.
- How to create a Pages project, upload your app, and set up its environment variables and KV binding.
- How to bind your custom domain to the Pages site via CNAME.
We’ll go through them in order.
Step 1: Obtain a custom domain
Your Pages site ultimately needs to sit behind a domain. Domains come in two flavors: paid, properly-registered ones, and free ones. If you want to get comfortable with the whole flow without spending anything, start with a free domain.
With free-domain registrars like the one used here, after you register an account and log in you can usually claim several permanent free domains; the root domains tend to be things like ccwu.cc or us.ci, all free of charge. No need to hunt for a registrar — grab one straight from our WeChat public account:
- Search for and follow the 「梦兽编程」 public account in WeChat.
- In the chat box, reply with the keyword
免费域名. - You’ll get an automatic reply with the free-domain sign-up entry; register an account and claim a domain as instructed.
Tip: Didn’t get the reply? Make sure the keyword is exactly
免费域名with no extra spaces or punctuation, and that you’re chatting with the 「梦兽编程」 account.
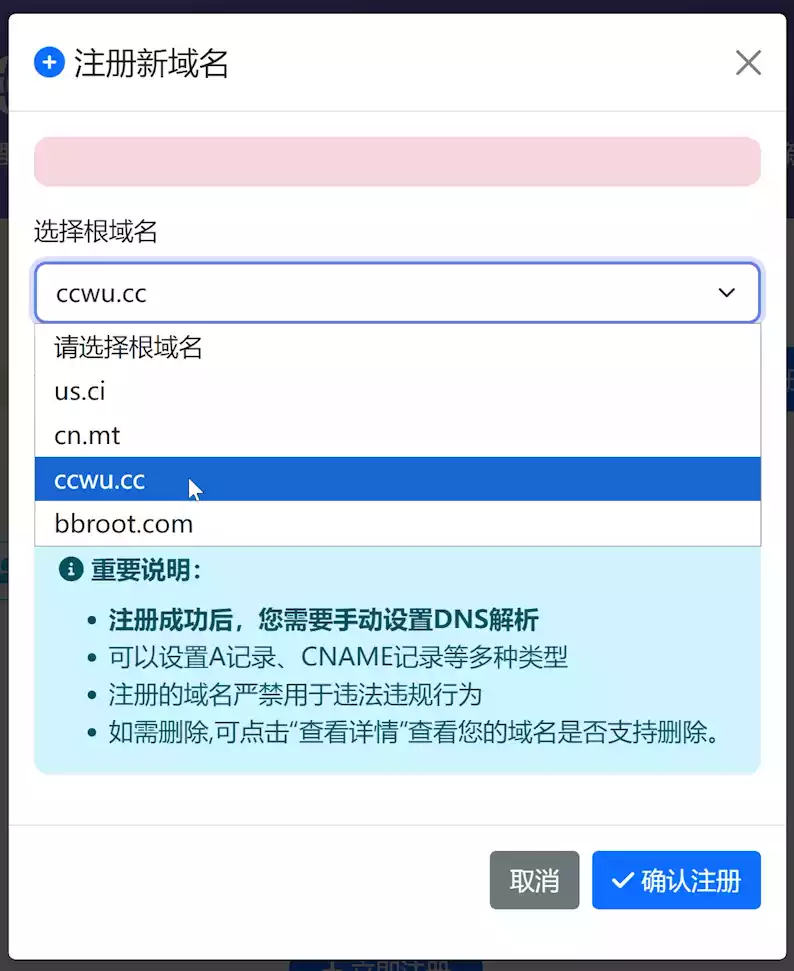
Afterward you hold a subdomain that looks something like your-site.ccwu.cc. Remember this full subdomain — you’ll need it again in Step 5 when binding the custom domain.
Note: Free domains are fine for learning and experimenting. For anything long-term and serious, buy a proper domain (
.com/.cn, etc.) — it’s more stable and less likely to be reclaimed.
Step 2: Host the domain with Cloudflare
Log into Cloudflare (create an account first if you don’t have one), then Add Site with the domain you just registered.
Cloudflare reads your domain’s DNS records and asks you to swap its NS records for the set it provides. Follow the instructions; once you change them and wait for DNS propagation, the domain turns active in the Cloudflare dashboard and hosting is complete.
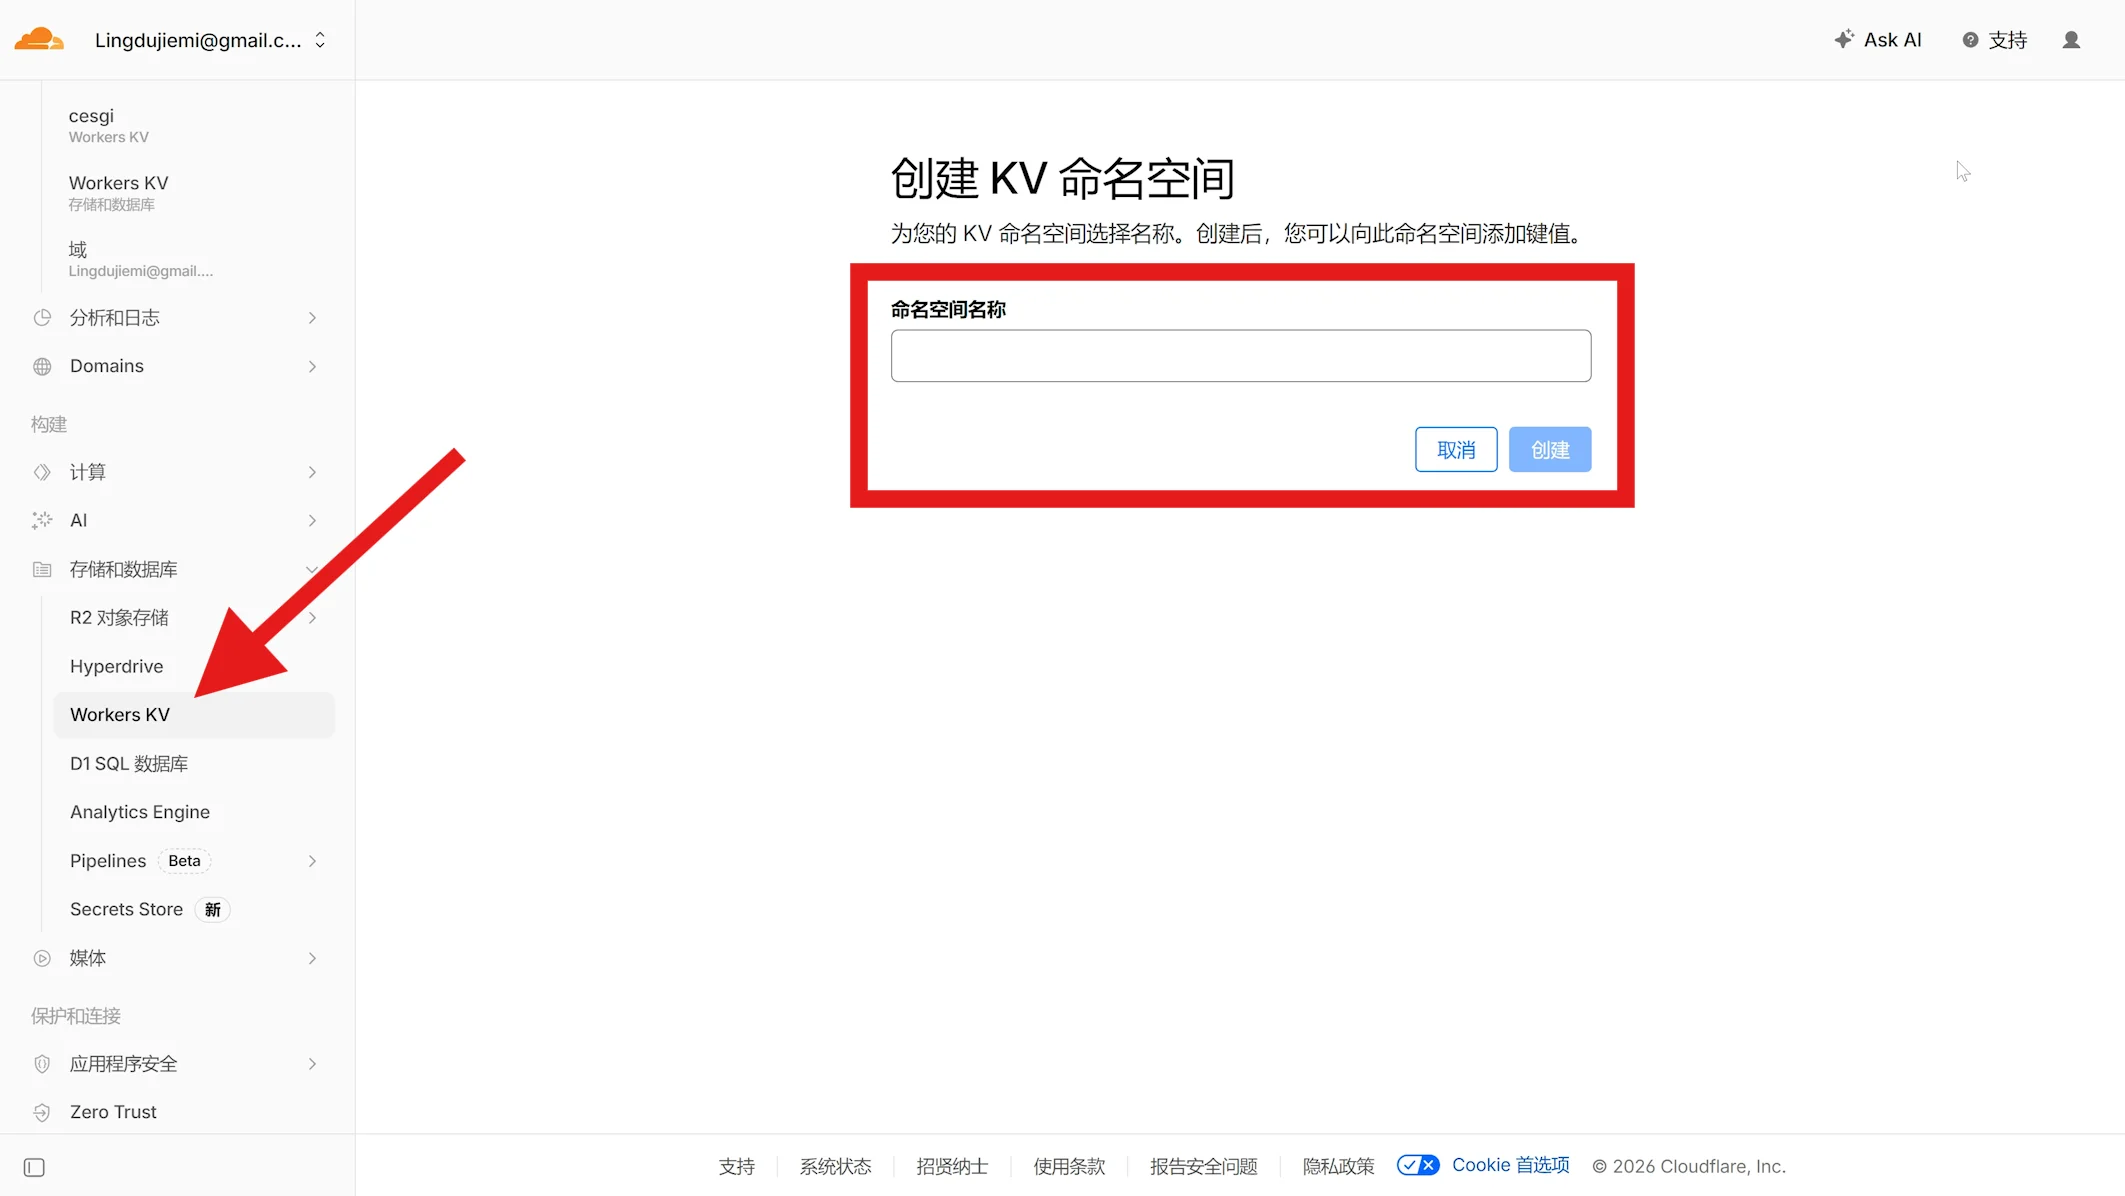
After the domain is hosted, everything that follows — Workers, Pages, KV, custom-domain binding — happens under this same Cloudflare account. Keep the account consistent; using the wrong one is a common mistake.
Step 3: Create a KV namespace
Many apps deployed on Pages need a small store for config and state. Cloudflare’s offering for that is KV (Key-Value).
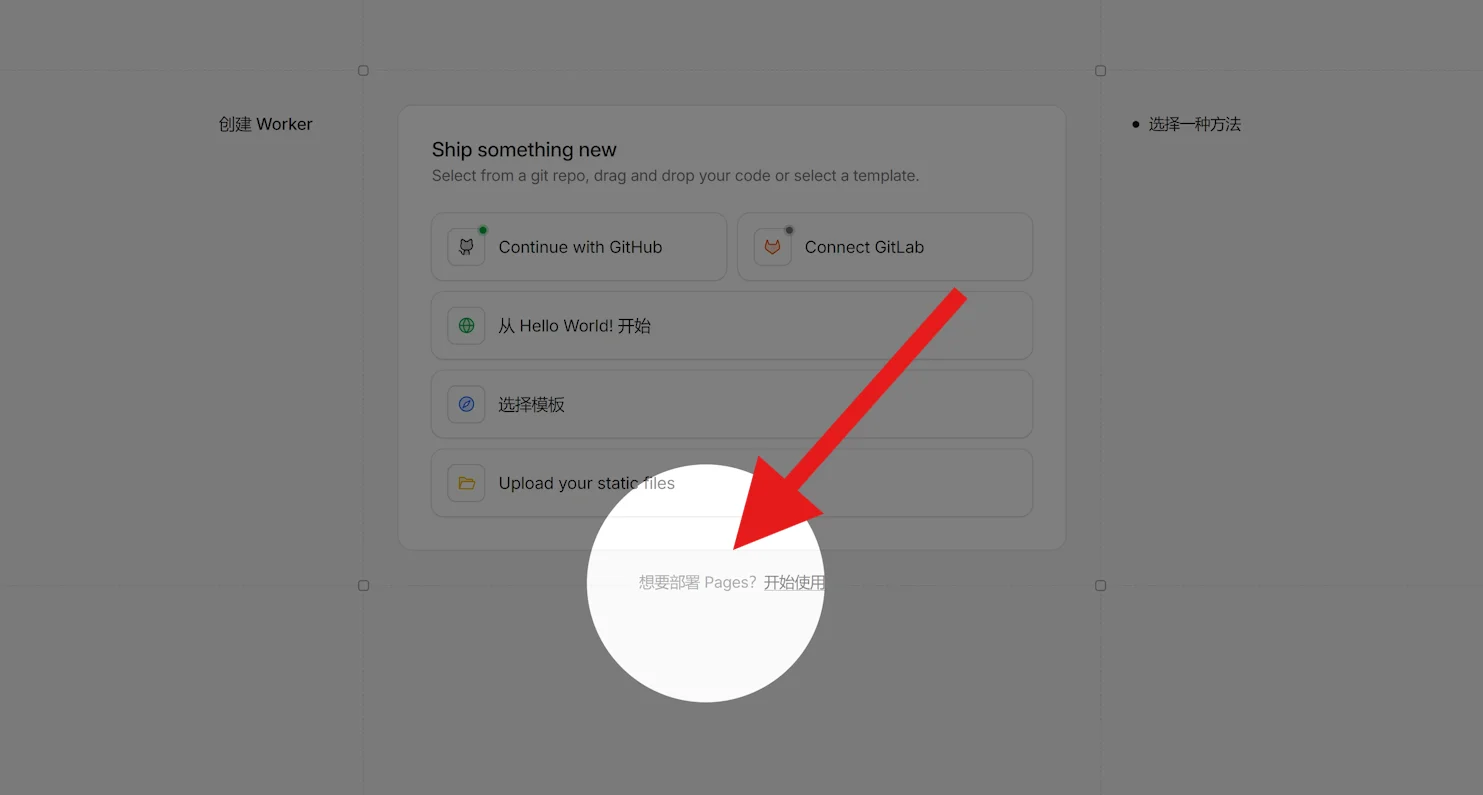
In the Cloudflare dashboard go to Workers and Pages / Storage and Database → Workers KV and create a KV namespace. Name it something you’ll remember — you’ll bind it to the Pages project later.
Step 4: Upload and deploy your app on Pages
With the domain and KV ready, here’s the core part: deploying your app into a Pages project. The app archive is not distributed inside this article — you’ll get it from our WeChat public account first, then upload it to Pages.
4.1 Get the app archive
- Open WeChat and follow the 「梦兽工程」 (Mengshou Engineering) public account.
- In the account’s chat box, reply with the keyword
cfpages. - You’ll receive an automatic reply with the download entry for the program; download the zip archive it points to.
Keep the downloaded zip somewhere handy (desktop, downloads folder) — you’ll need it in the next step.
Tip: Didn’t get the reply? Make sure there’s no extra space in the keyword, and that you’re talking to the 「梦兽工程」 account.
4.2 Upload and deploy on Pages
In the Cloudflare dashboard, open Workers and Pages.
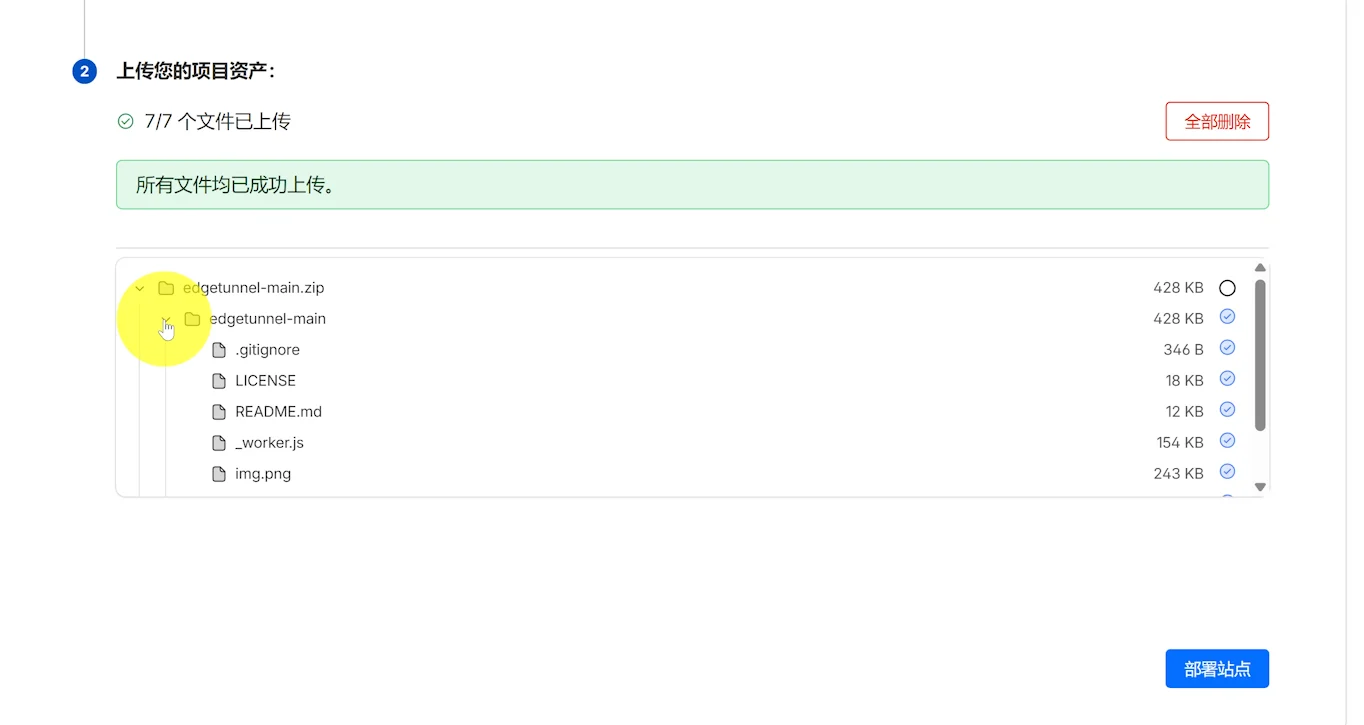
When creating a project, choose Pages and select the option to deploy by uploading a built zip, rather than connecting a source repository.
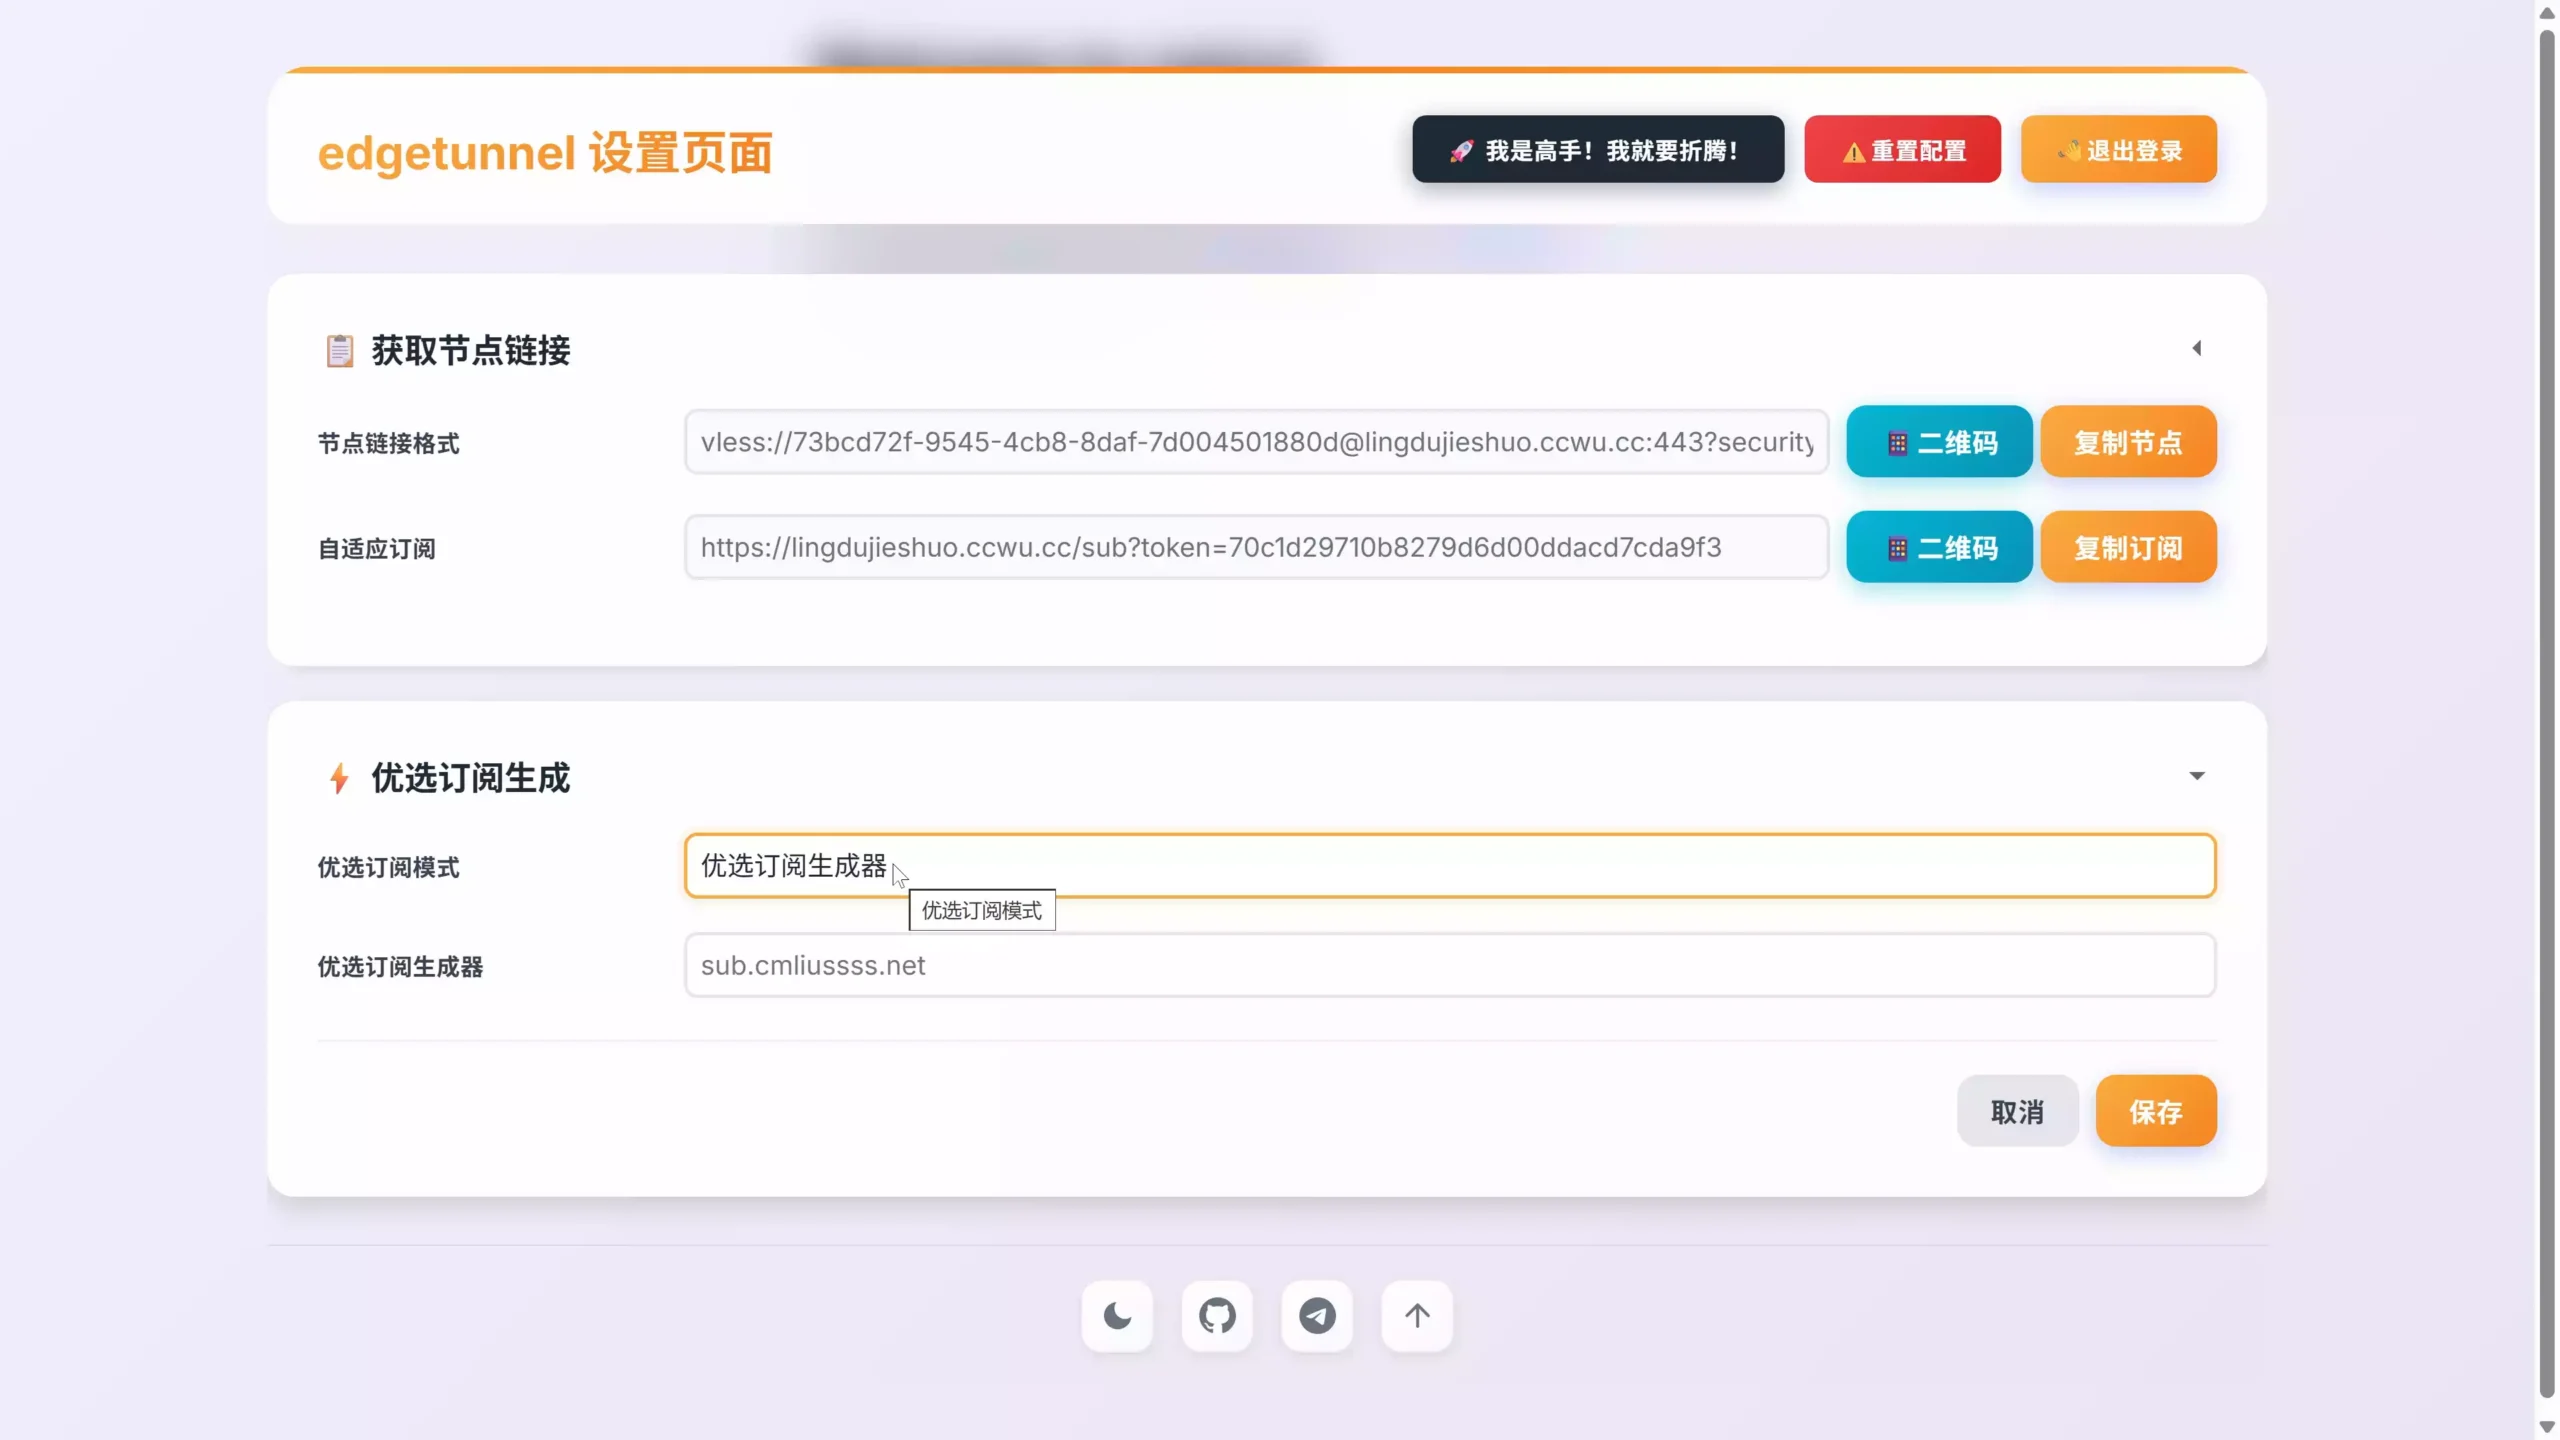
Click upload and select the zip you obtained from the public account in Step 4.1 (usually something like main.zip). Cloudflare extracts and deploys it automatically.
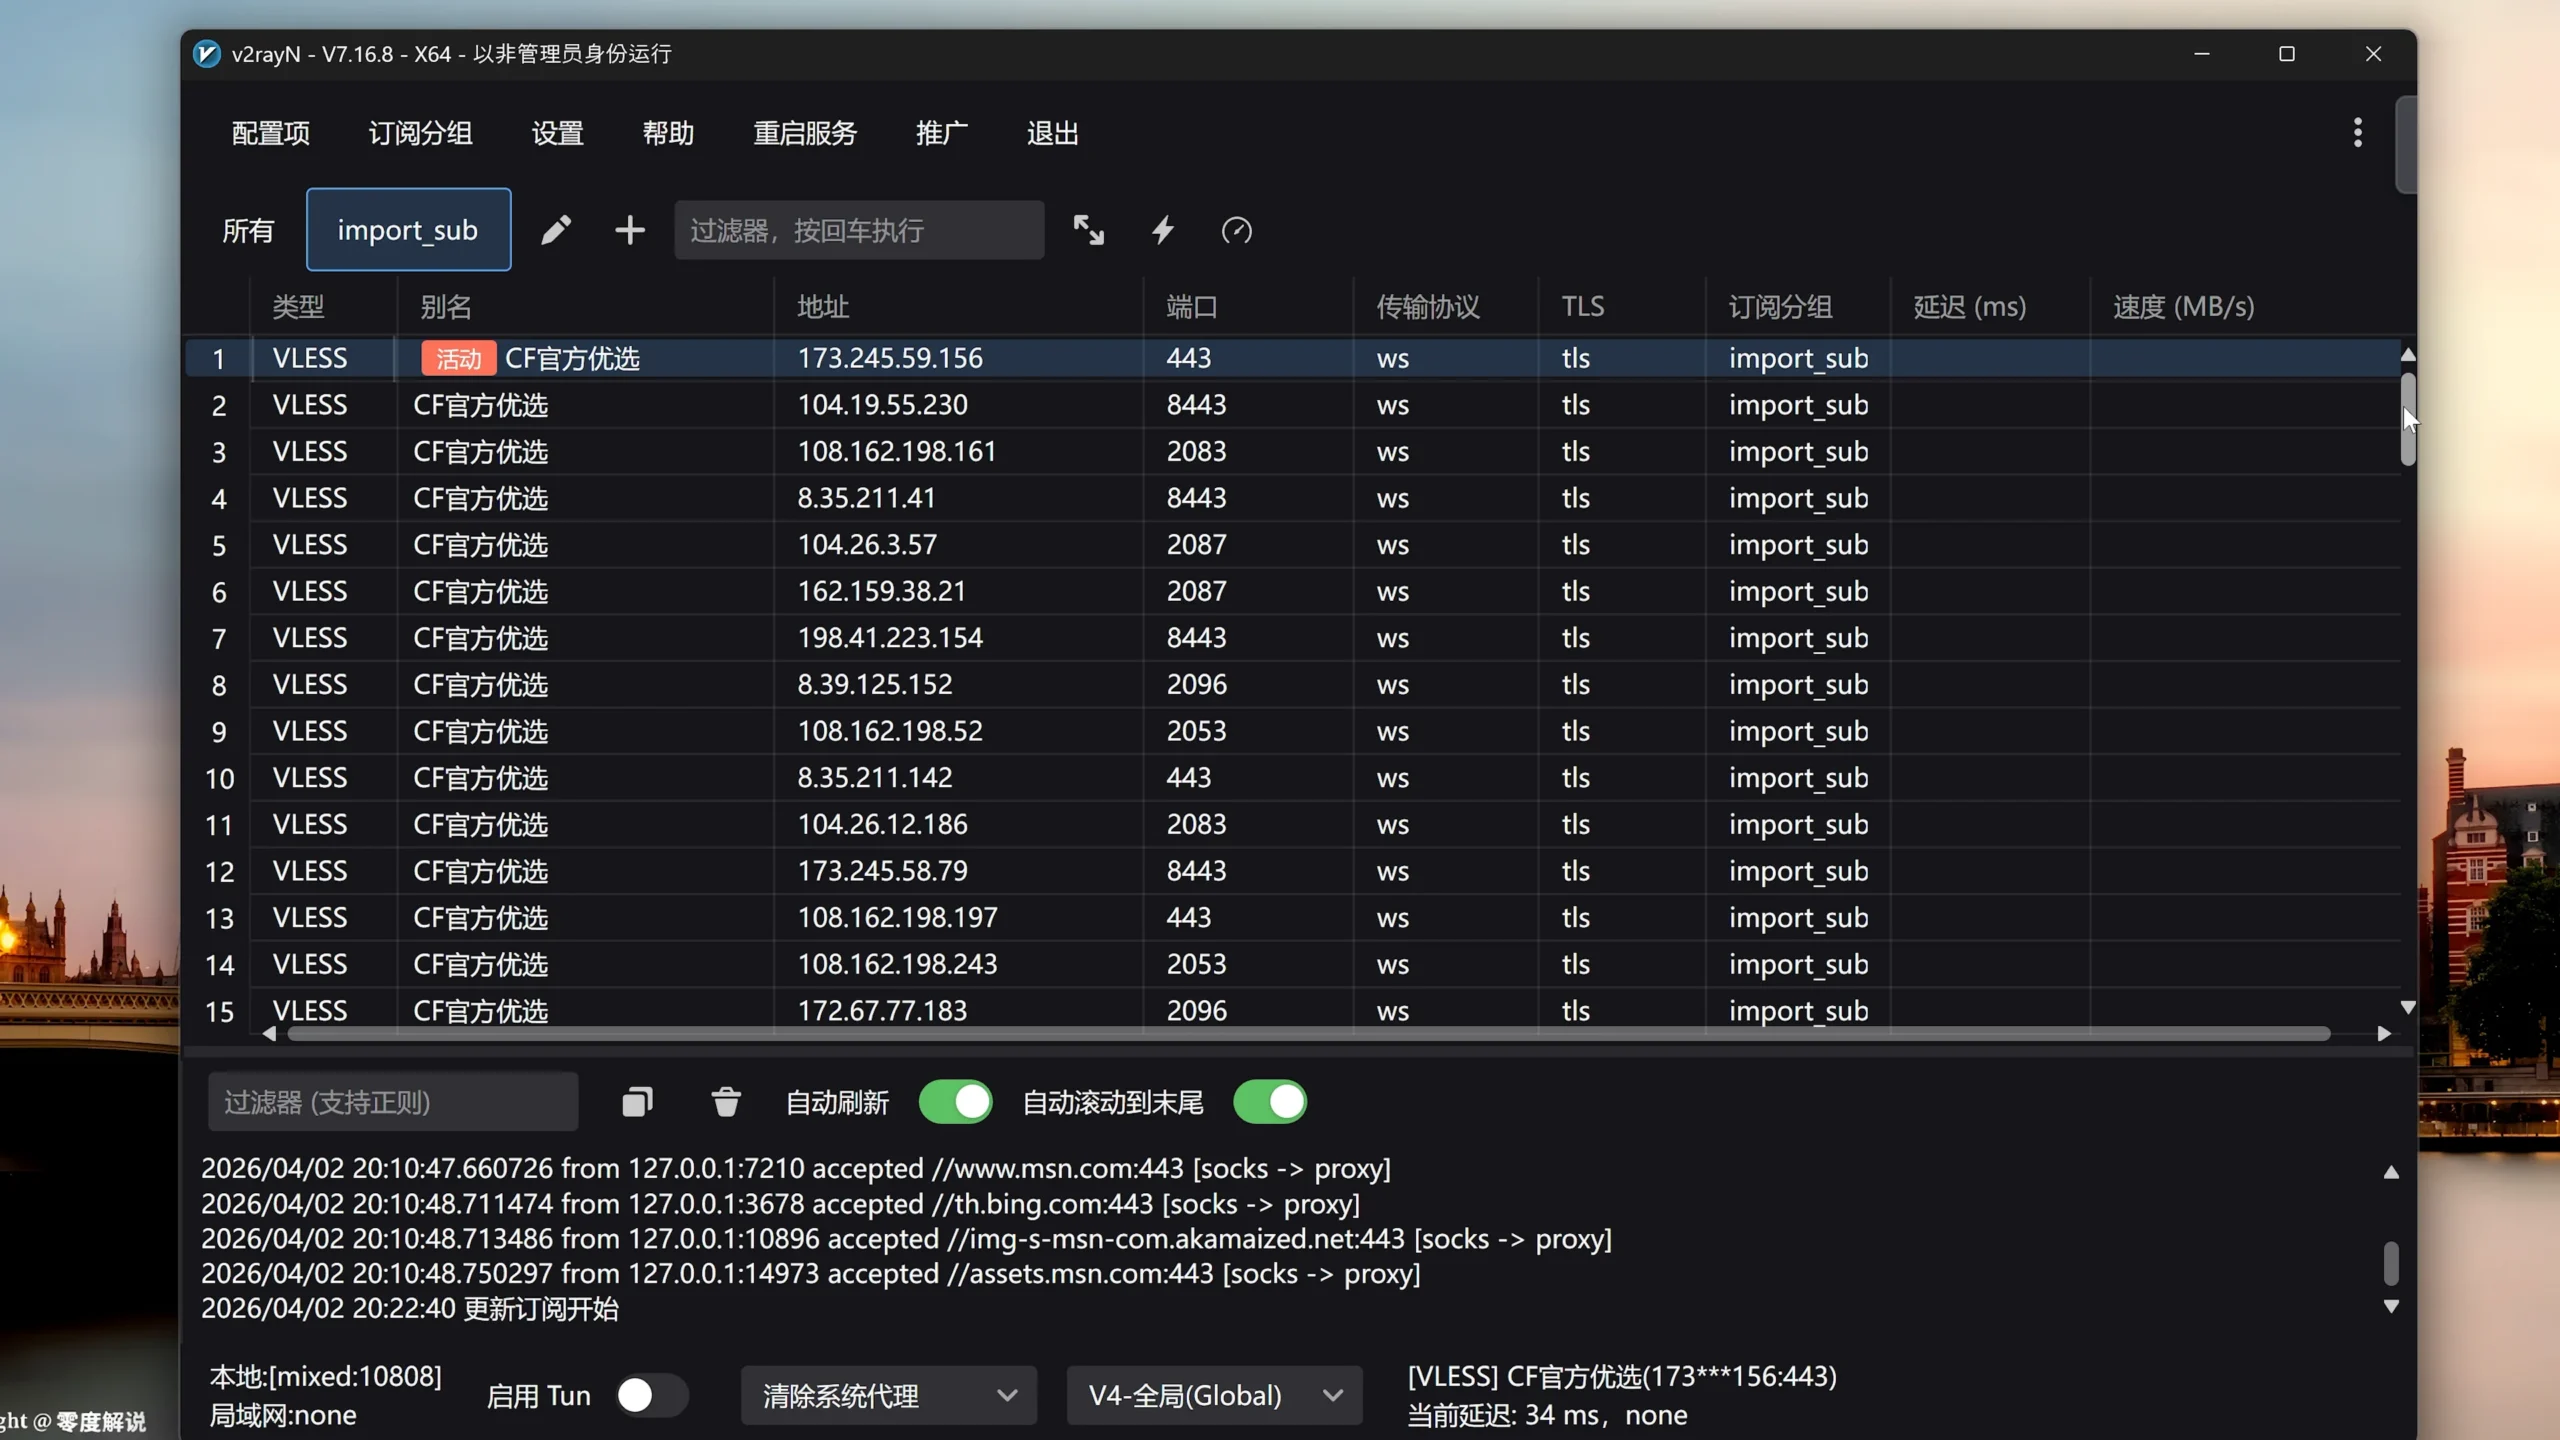
After the first deployment, two more things need setting before the app actually works:
1. Define environment variables. In the Pages project settings, add the variables the app requires. The most common one is an admin password — use the variable name the app expects and set the value to your chosen password, then save.
2. Bind the KV namespace. In the same settings area, find KV namespace bindings, click to add one, and select the KV namespace you created in Step 3 (or create a new one) and bind it to the project.
Once both are configured, redeploy — the variables and KV only take effect on the next deploy.
Step 5: CNAME your custom domain to the Pages site
A successful deployment gives your Pages project a default domain (xxx.pages.dev). What we actually want to use is the custom domain you obtained in Step 1. To bridge your custom domain and the Pages site, we use a CNAME.
In the Pages console under Custom domains, click to add a custom domain and enter your full subdomain. Enter the subdomain, not the root domain. If what you registered was your-site.ccwu.cc, enter exactly your-site.ccwu.cc.
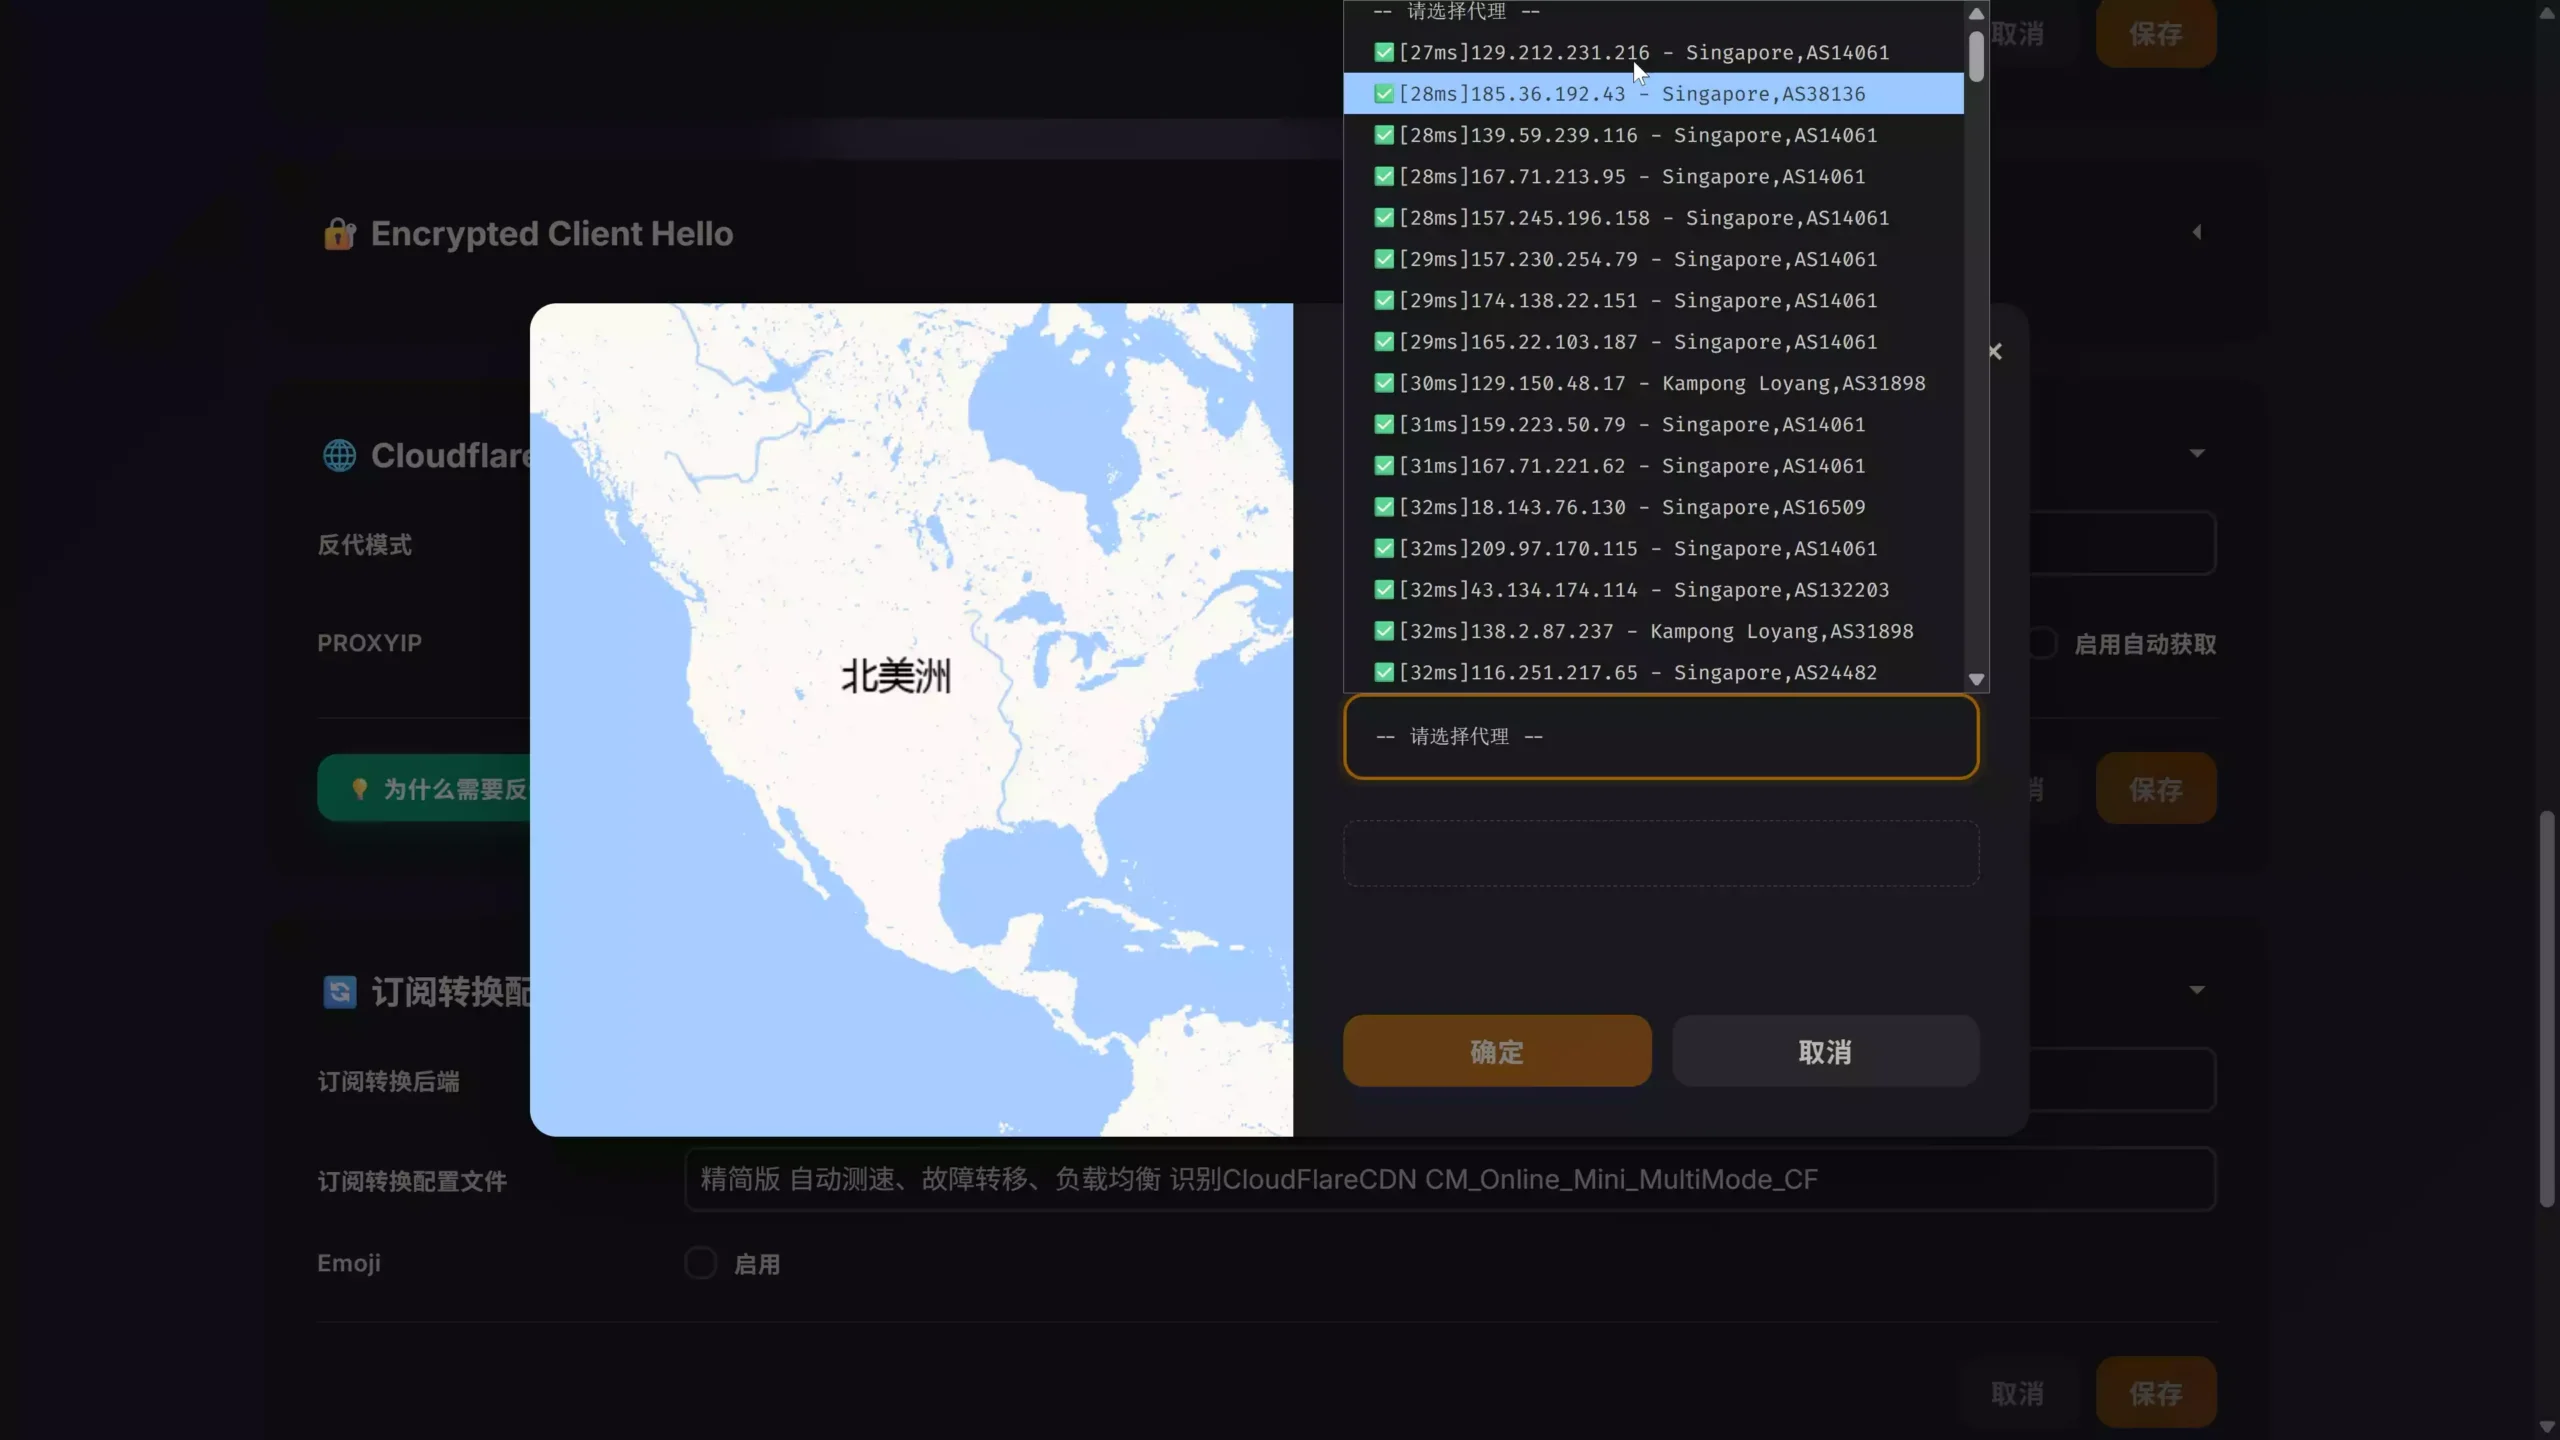
After that, Cloudflare tells you to do one thing: go back to your domain’s DNS provider and add a CNAME record for this custom domain pointing at *.edgetunnel.pages.dev.

This step is where things most often go wrong. Keep two points in mind:
- The CNAME target must be
*.edgetunnel.pages.dev— not the defaultpages.devdomain Cloudflare handed your project. They are not the same thing. - Since your domain is already hosted on Cloudflare, you can add this CNAME record right in Cloudflare’s own DNS page, which is the easiest path.
Once the CNAME record is added and DNS propagates, visiting https://your-subdomain in a browser will show the app you just deployed.
Recap
End to end it’s just these five steps:
- Get a domain — register a free domain and note its full subdomain.
- Host it on Cloudflare — change the NS records to bring the domain into your Cloudflare account.
- Create a KV namespace — set one up in Workers KV for the app to use.
- Create Pages and deploy — upload the app archive, configure environment variables and the KV namespace, then redeploy.
- Bind the custom domain — add it in Pages, then add a CNAME record pointing at
*.edgetunnel.pages.dev.
Steps 1–2 answer “where the domain comes from and who manages it”; step 3 is “preparing storage for the app”; step 4 is “getting the app running”; step 5 is “reaching it by your own domain.” Do all five and you have a custom-domain-backed Pages site live.
Stuck? Get help step by step
If you get stuck at any step, don’t plow through it alone — come to our community, tell us exactly which step and what the error looks like, and we’ll walk through it with you.
- Scan to follow the 「梦兽编程」 public account, then reply
免费域名in the chat box to get the free-domain sign-up entry (matches Step 1 of this article). - Want someone to talk to directly? Join the QQ group
1173432413and we’ll guide you through the whole flow.