Rust GCC Compiler Backend: Install rustc-codegen-gcc with One Command
Compilers Can “Swap Engines” Now
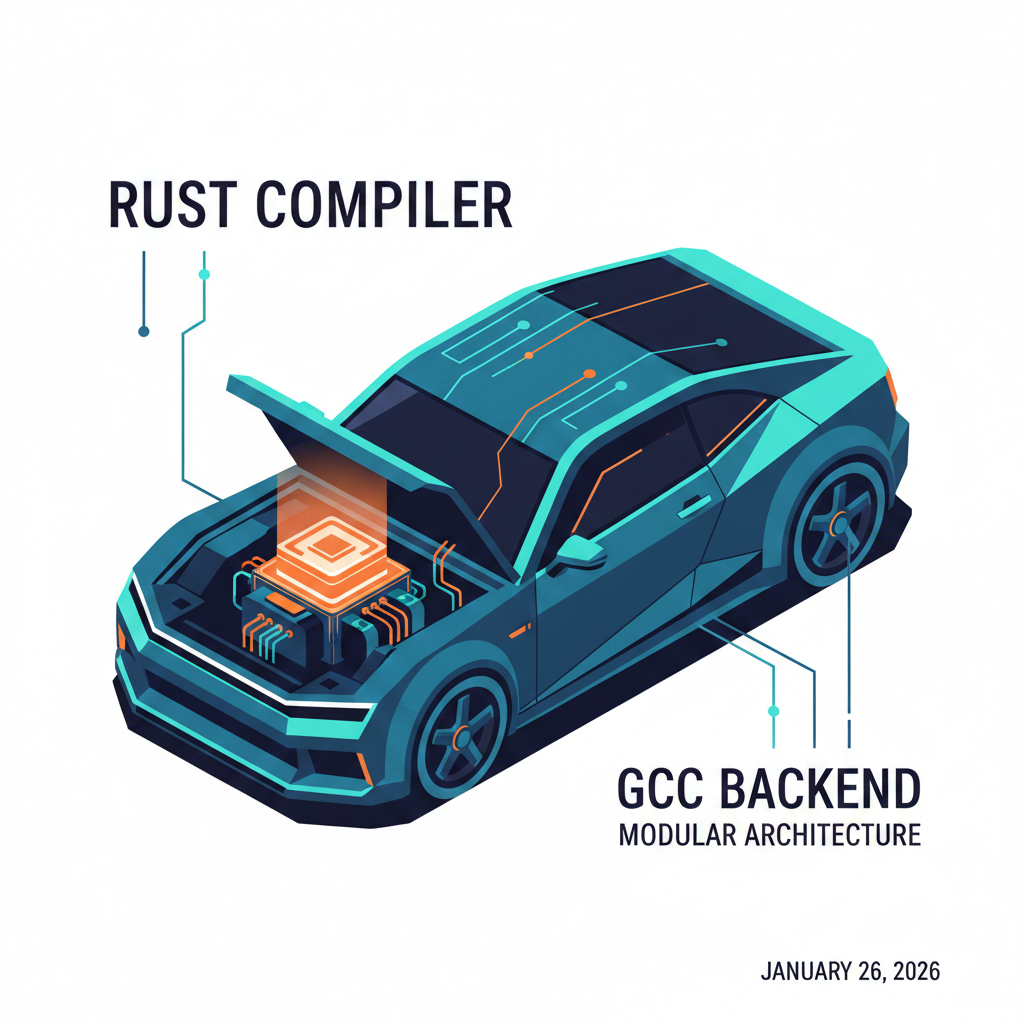
Image: The Rust compiler can “swap engines” through the GCC backend, as simple as replacing a car engine
Your code runs blazingly fast locally, but dies in a different environment? Want to compile Rust on some special architecture, only to find LLVM doesn’t support it?
It’s like buying a car with a fixed engine—if you want to swap engines, you’d have to dismantle the entire vehicle and rebuild it. Now Rust gives you a chance to “swap engines”—the GCC backend.
Previously, if you wanted to compile Rust code with GCC, you had to manually compile rustc-codegen-gcc (the compiler backend), configure the environment, and spend half a day tinkering. Now it’s done with one command. On January 22, 2026, Rust officially added rustc-codegen-gcc to rustup’s nightly components, allowing Linux x86_64 users to install and use it directly.
You can now use GCC’s optimizer to compile Rust code without changing any code—just add a compilation flag. It’s like swapping in a new engine, but the steering wheel, gas pedal, and brakes are all the same—driving feels completely familiar.
What Exactly Is a Compiler Backend?
Let’s clear something up first: this is not gccrs. Many people confuse them, so let me separate them out. rustc-codegen-gcc is a compiler backend plugin.
What Is rustc-codegen-gcc?
rustc-codegen-gcc is a compiler backend that plugs into the back of rustc (the Rust compiler), responsible for translating Rust code into machine code.
Imagine rustc as a translator who translates your Rust code into an “intermediate language” (MIR, Mid-level Intermediate Representation). The backend is responsible for translating this “intermediate language” into binary code that machines understand.
The default backend is LLVM (what most people use), and the new backend is GCC (now available).
It’s like traveling abroad—the translator converts your Chinese into English (intermediate language), then a local guide translates English into French, German, or Spanish (machine code). Swapping backends is like changing guides, but the translator remains the same.
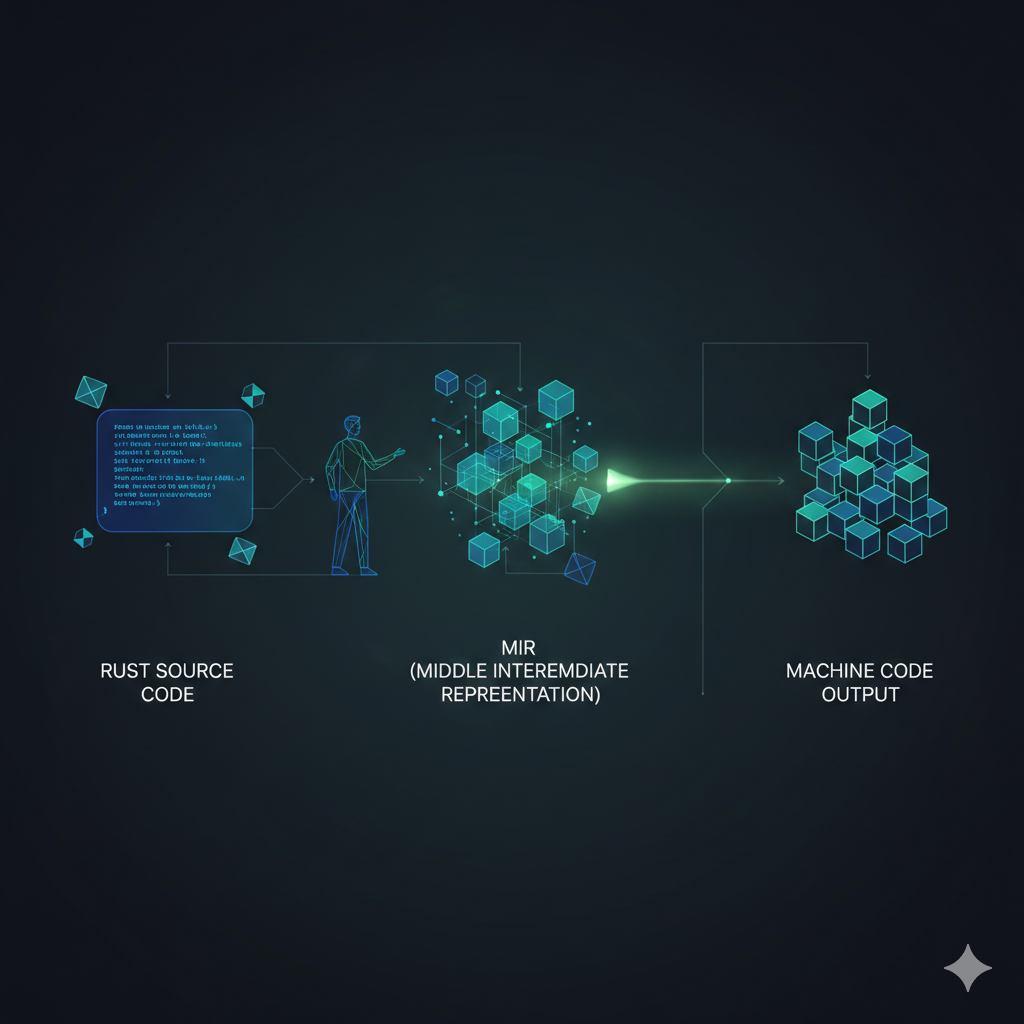 Image: rustc (translator) converts Rust code to intermediate language (MIR), GCC backend (guide) compiles it to machine code
Why Use the GCC Backend?
You might ask: isn’t LLVM good enough? Why use GCC?
GCC supports more CPU architectures than LLVM. Some embedded devices and legacy hardware aren’t supported by LLVM, but GCC can handle them.
GCC and LLVM optimize differently. Sometimes GCC produces faster code, sometimes LLVM does. You can try both and see which fits your project better.
Linux kernel developers are more familiar with GCC and want Rust to compile with GCC too, making the toolchain more unified.
What’s the Difference from gccrs?
rustc-codegen-gcc uses GCC as the backend, but the frontend is still rustc. Your Rust code is still parsed by rustc—only the final machine code generation uses GCC.
gccrs compiles Rust entirely with GCC, both frontend and backend. It’s an independent project aiming to make GCC directly understand Rust syntax.
To put it simply: rustc-codegen-gcc means you still use the original translator (rustc), just with a different guide (GCC). gccrs means you’ve switched to a new translator (GCC), and the guide is also GCC.
Can I Use It Now?
Yes, but with limitations.
Only Linux x86_64 is supported—macOS and Windows users can’t use it yet. Only nightly version is supported, not stable. Cross-compilation isn’t supported—you can only compile Linux x86_64 programs on Linux x86_64, not other platforms.
Remember This in One Sentence
The compiler backend rustc-codegen-gcc is like giving the Rust compiler a different “translation machine.” The code remains the same, but the final binary is generated using GCC’s optimizer.
Get Started with the Compiler Backend in 60 Seconds
Theory’s done—now let’s get practical. I’ll walk you through installing the rustc-codegen-gcc compiler backend step by step, then compiling a Rust project.
Step 1: Ensure You Have the Nightly Toolchain
rustup toolchain install nightly
This step is simple—just install Rust’s nightly version. If you’ve already installed it, skip this step.
What success looks like: You’ll see output similar to this:
info: syncing channel updates for 'nightly-x86_64-unknown-linux-gnu'
info: latest update on 2026-01-25, rust version 1.XX.0-nightly
info: downloading component 'cargo'
info: downloading component 'rust-std'
info: downloading component 'rustc'
info: installing component 'cargo'
info: installing component 'rust-std'
info: installing component 'rustc'
Step 2: Install the GCC Backend Components
rustup +nightly component add rustc-codegen-gcc-preview gcc-x86_64-unknown-linux-gnu-preview
This is the key step—you’re installing two components: rustc-codegen-gcc-preview (the GCC backend itself) and gcc-x86_64-unknown-linux-gnu-preview (the toolchain GCC needs).
Note: The component names have a -preview suffix—don’t miss it.
What success looks like:
info: downloading component 'rustc-codegen-gcc-preview'
info: installing component 'rustc-codegen-gcc-preview'
info: downloading component 'gcc-x86_64-unknown-linux-gnu-preview'
info: installing component 'gcc-x86_64-unknown-linux-gnu-preview'
What if it fails? If you get “component not found,” check that you’re using nightly—add +nightly before the command. If you get “unstable option,” you’re not using nightly—go back to step 1.
Step 3: Compile Your Project with the rustc-codegen-gcc Compiler Backend
RUSTFLAGS="-Zcodegen-backend=gcc" cargo +nightly build
This command does three things: RUSTFLAGS="-Zcodegen-backend=gcc" tells the Rust compiler to use the rustc-codegen-gcc compiler backend, cargo +nightly uses the nightly version of Cargo, and build compiles the project.
What success looks like:
   Compiling my-project v0.1.0 (/path/to/my-project)
    Finished dev [unoptimized + debuginfo] target(s) in 2.34s
What if it fails? If you get “unstable option -Zcodegen-backend,” you’re not using nightly—add +nightly before the command. If compilation errors occur, the GCC backend is still in preview stage and some code won’t compile. Try simplifying your code or switch back to LLVM.
Step 4: Compare LLVM and GCC Compilation Results
You can compile the same project with both LLVM and GCC, then compare:
# LLVM compilation (default)
cargo build --release

# GCC compilation
RUSTFLAGS="-Zcodegen-backend=gcc" cargo +nightly build --release
Then check the differences in binary file size and runtime speed.
Cheatsheet:
# Install nightly
rustup toolchain install nightly

# Install GCC backend
rustup +nightly component add rustc-codegen-gcc-preview gcc-x86_64-unknown-linux-gnu-preview

# Compile with GCC
RUSTFLAGS="-Zcodegen-backend=gcc" cargo +nightly build

# View installed components
rustup component list --toolchain nightly | grep gcc
Common Pitfalls and Solutions
When using the rustc-codegen-gcc compiler backend, you’ll encounter these issues.
macOS and Windows users can’t use it. If you try to install the GCC backend on macOS or Windows, you’ll get “component not found.” Currently, the GCC backend only supports Linux x86_64—other platforms aren’t supported yet. If you really want to try, use a virtual machine or Docker to run a Linux environment, or wait for official support for more platforms (no idea how long that’ll take).
Cross-compilation isn’t supported. If you try to compile ARM architecture programs on Linux x86_64, it’ll fail. The GCC backend currently doesn’t support cross-compilation—you can only compile programs for the current platform. If you need cross-compilation, stick with LLVM, or compile directly on the target platform (like on an ARM device).
Compilation got slower. Compiling with the GCC backend feels slower than LLVM. GCC and LLVM have different optimization strategies—sometimes GCC is slower. If you’re just trying out the GCC backend, a bit slower is fine. If you need fast compilation, stick with LLVM, or only use GCC in release mode and LLVM in debug mode.
Compiled programs won’t run. Programs compiled with the GCC backend crash or error at runtime. The GCC backend is still in preview stage and has bugs. Check if your code has unsafe code or uses unstable features. Try simplifying the code to see which part causes the problem. Go to rustc-codegen-gcc’s GitHub to file an issue and help developers improve it.
Component name is wrong. When installing components, you get “component not found.” The component names have a -preview suffix—you might have missed it. The complete component names are rustc-codegen-gcc-preview and gcc-x86_64-unknown-linux-gnu-preview—don’t miss the -preview.
If you’re unsure about component names, check available components first:
rustup component list --toolchain nightly | grep gcc
Summary and Next Steps
Today we talked about Rust’s compiler backend rustc-codegen-gcc. Now you should know:
What the GCC backend is: A “translation machine” that plugs into the back of rustc, using GCC’s optimizer to generate machine code.
How to install it: Three commands, no manual compilation needed.
What the limitations are: Only supports Linux x86_64, no cross-compilation, still in preview stage.
What can you do next?
Try compiling your project and see what differences exist between GCC and LLVM compiled programs. Use cargo bench or hyperfine to test runtime speed. If you encounter bugs, file issues on GitHub. If you’re a macOS or Windows user, follow official progress.
Actionable checklist:
- Install nightly toolchain
- Install GCC backend components
- Compile a simple project with GCC backend
- Compare LLVM and GCC compilation results
- If you encounter problems, file issues on GitHub
Advanced directions:
Add a GCC backend compilation task in GitHub Actions to see if it passes. Try different compilation flags to see if you can make GCC-compiled programs faster. If you do embedded development, try the GCC backend’s performance on special architectures.
Which scenario do you most want to try? Compare LLVM and GCC performance differences? Or try the GCC backend on embedded devices? Feel free to share your thoughts in the comments.
If you found this helpful, give it a like so more people can see it. Share with friends or colleagues who might need it. Follow Dream Beast Programming to not miss more practical tech articles. Have questions or ideas? Welcome to discuss in the comments.
References: