A friend asked me the other day: “Did OpenAI’s Codex CLI get updated recently? It seems like there are a lot of new features, but I don’t know how to use them.”
You bet it did. This terminal tool received major version updates from 0.80.0 to 0.86.0: custom skills, web search control, sandbox elevation, headless login, session branching… the changelog is overwhelming. Today, I’ll walk you through how to configure these new Codex CLI features, which ones are worth using, and which ones you can skip for now.
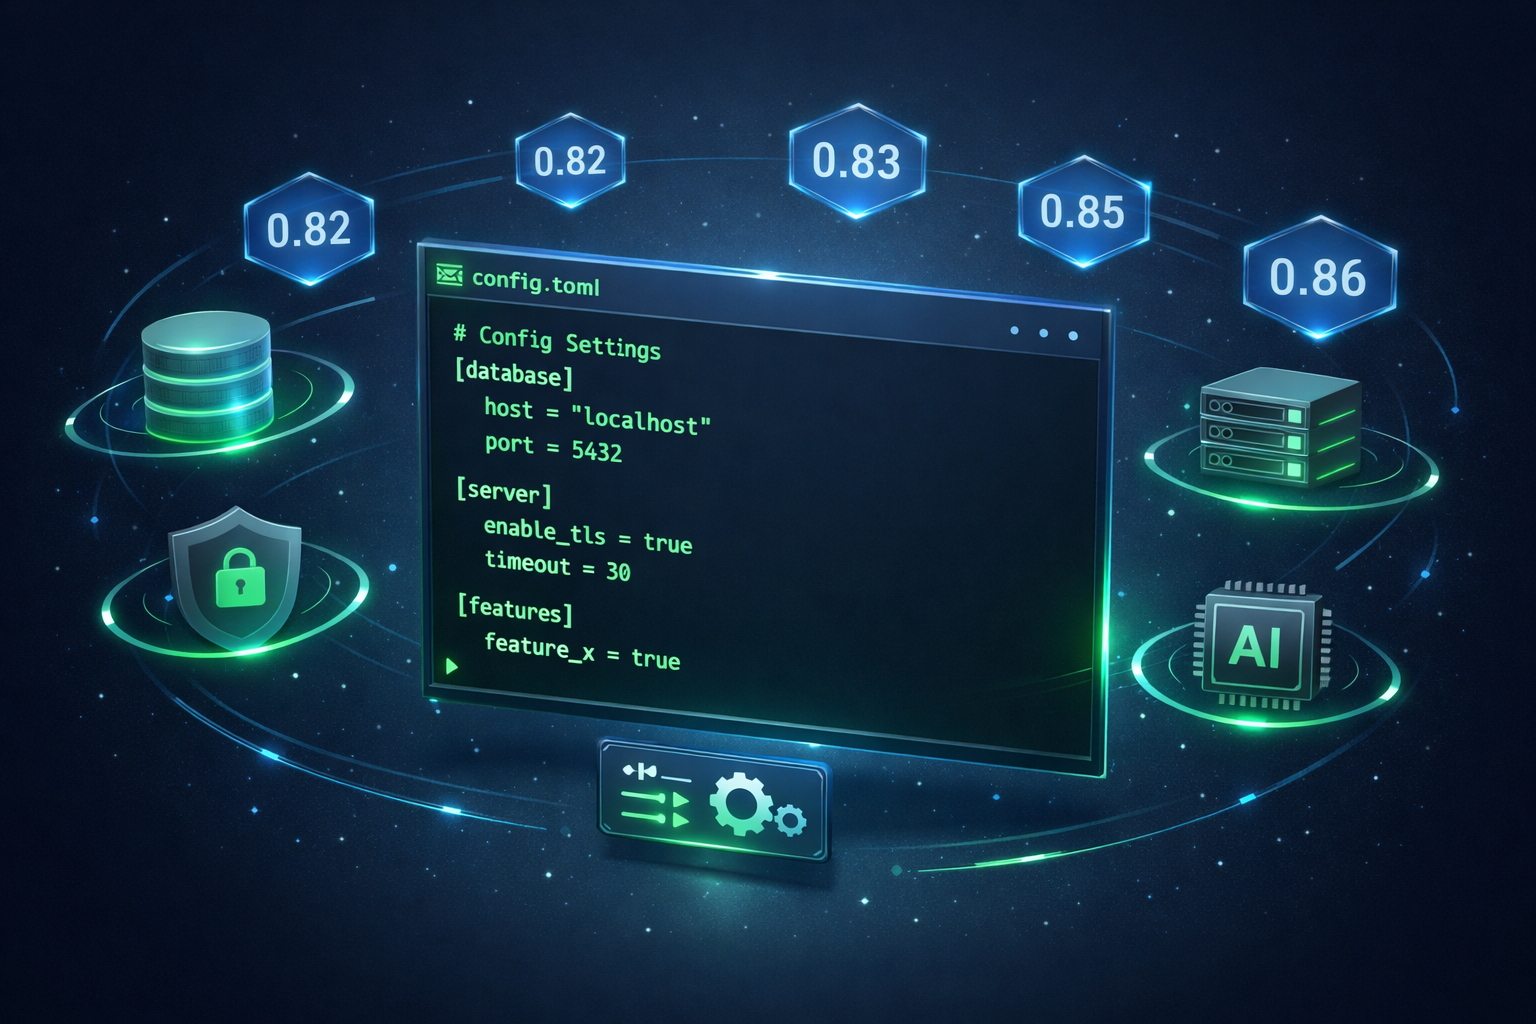
Let’s start with the config file location. Codex CLI’s config file lives at ~/.config/codex/config.toml. If you haven’t used this terminal tool before, the file might not exist, so you’ll need to create it:
mkdir -p ~/.config/codex
touch ~/.config/codex/config.toml
Once you’ve created it, the first thing is to select a model. Since version 0.81.0 update, the default model is gpt-5.2-codex. If you have other preferences, you can change it:
[model]
default = "gpt-5.2-codex"
Next, let’s talk about the sandbox feature added in version 0.80.0. This is quite important. The sandbox is like a safety rope for your AI programming assistant, preventing it from running wild on your system. Three modes are available: standard is balanced between security and functionality, elevated allows more permissions, and read-only is the safest but most limited. I usually go with standard, which is sufficient. If you need higher permissions temporarily, you can use /elevate-sandbox in your Codex CLI session:
[sandbox]
mode = "standard"
read_only_paths = [
    "/etc",
    "/usr",
    "~/.ssh"
]
Linux users can specify which directories should be read-only like above. Locking down sensitive directories gives you peace of mind.
Now, let’s talk about SKILL.toml, which was added in version 0.86.0. This is pretty interesting. It’s essentially a skill definition file that tells Codex CLI this project has a specific skill that executes according to your definition. You can create a SKILL.toml file in your project root to define custom skills for this AI programming assistant.
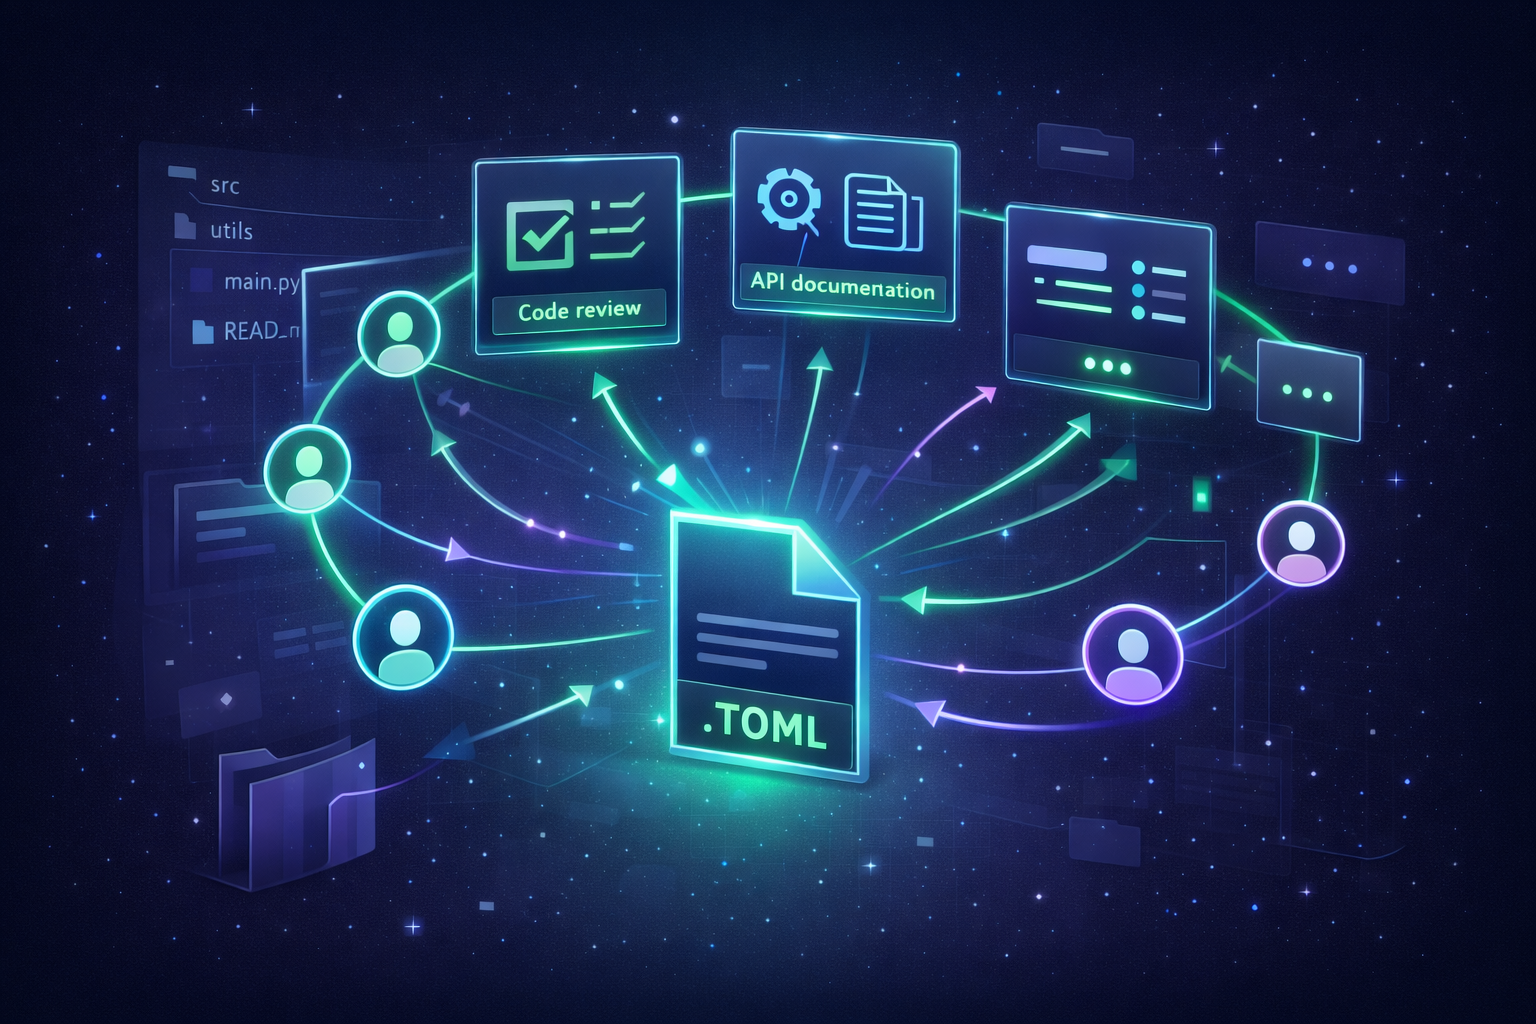
Let me give you a practical example. Suppose your team has specific code review standards, and you need to check those same rules every time. Instead of typing them out each time, you can define them as a skill:
my-project/
├── SKILL.toml
├── src/
└── ...
name = "team-review"
description = "Review code according to team standards"
icon = "✅"
brand_color = "#4CAF50"
default_prompt = """
Please review the code according to the following team standards:
1. Check for unhandled errors
2. Verify variable naming follows camelCase
3. Check if functions exceed 50 lines
4. Ensure appropriate comments exist
5. Look for security vulnerabilities
"""
Once you enter this project directory, you can directly invoke the skill, and it will automatically apply your preset review standards without having to type them out every time. For example, if you frequently need to generate API documentation, you can define a documentation skill:
name = "api-doc"
description = "Generate RESTful API documentation"
icon = "📝"
brand_color = "#6C5CE7"
default_prompt = """
Please generate documentation for this API, including:
- Endpoint path and method
- Request parameter descriptions
- Response format examples
- Error code list
"""
Basically, SKILL.toml固化下来 is about solidifying your commonly used prompts so you don’t have to type them out every time. It’s especially great for team collaboration, where everyone using the same skill definitions ensures consistent review standards and documentation formats. Of course, if you only need to use something once, it’s more flexible to just type your requirements directly in the conversation—no need to create a dedicated skill file.
Another feature added in version 0.86.0 is web search control. When enabled, Codex CLI can search the internet for the latest documentation and solutions, which is helpful for AI programming. However, if you’re working with sensitive code or in an intranet environment, it’s recommended to disable it:
[features]
web_search = true  # or false
Speaking of server environments, version 0.81.0 update added support for headless login. If you want to use this terminal tool on a server without a graphical interface, just run codex login, and it’ll give you a device code:
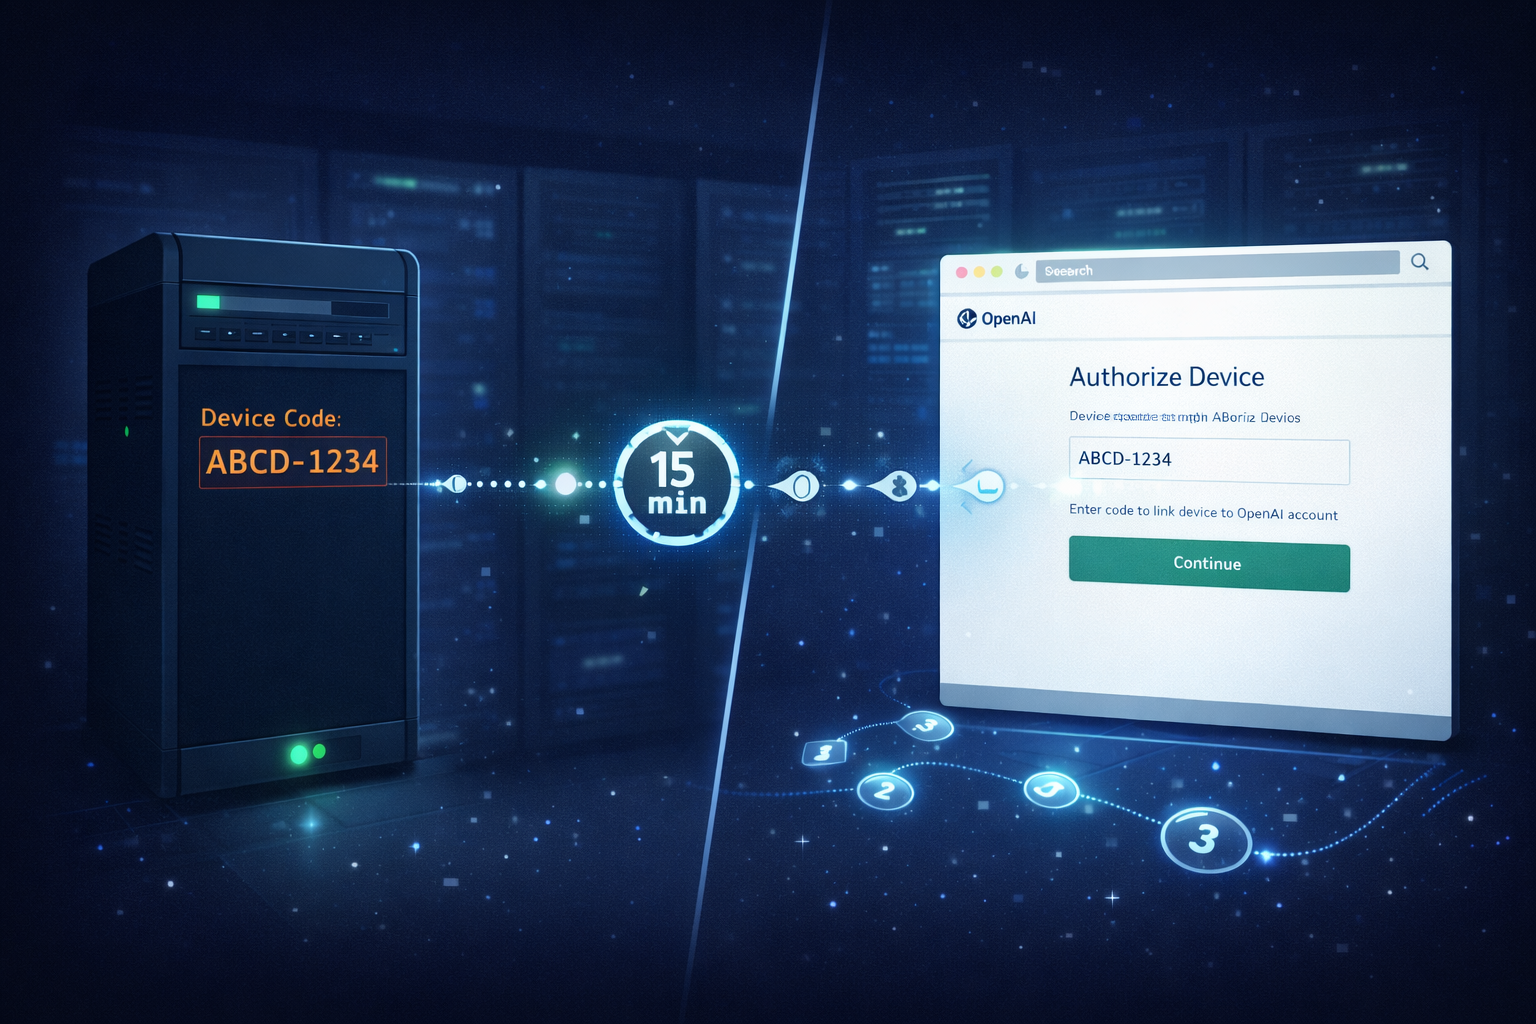
Then, on another computer with a browser, open that URL, enter the code to authorize, and you’re done. It’s like logging into Netflix on your TV.
Also, if you use terminal multiplexers like Zellij or tmux, you might encounter scrolling issues. I ran into this坑 myself—the scrollbar just wouldn’t work right, and it took me forever to realize the problem was the alternate screen. Adding this config fixes it:
[tui]
alternate_screen = false
Or when starting Codex CLI, use the parameter codex --no-alt-screen.
Session management also received updates. Version 0.85.0 update improved the resume function. Now you can use codex resume --last to resume the previous session, or codex resume --session <session-id> to resume a specific session. There’s also a session branching feature added in 0.80.0—typing /fork in a session creates a new branch of the current conversation, which is useful when you want to try different solutions without losing your current progress.
MCP servers were added in version 0.81.0 update, allowing you to install plugins that extend Codex CLI’s AI programming capabilities. This one is a bit more advanced, and the config looks like this:
[mcp]
enabled = true

[[mcp.servers]]
name = "custom-tools"
command = "node"
args = ["./mcp-server.js"]
You can dive into this after you’ve mastered the basic configurations.
In addition to global configs, version 0.80.0 update also added project-level requirements.toml. You can place one in your project root to tell Codex CLI about this project’s environment and permissions:
[project]
name = "my-awesome-project"
description = "Project description"
version = "1.0.0"

[dependencies]
python = ">=3.9"
node = ">=18.0.0"

[permissions]
network = true
file_write = ["./src", "./tests"]
allowed_commands = ["npm", "python"]
This way, your AI programming assistant knows what it can and can’t do in this project, and won’t go rogue.
Finally, here’s a complete Codex CLI config template for you to copy:
# ~/.config/codex/config.toml

[model]
default = "gpt-5.2-codex"

[sandbox]
mode = "standard"
read_only_paths = ["/etc", "~/.ssh"]

[tui]
alternate_screen = true

[features]
web_search = true

[mcp]
enabled = true

[auth]
storage = "keyring"
Remember to restart this terminal tool after modifying the config for changes to take effect. Version 0.81.0 and later will validate the config file on startup and tell you about any errors instead of failing silently.
A few common questions: if changes don’t take effect, restart Codex CLI—most config changes require a restart; to view current config, enter /status in the session; config.toml is a global config that affects all projects, while SKILL.toml is a project-level config that only applies to the current project.
Configuring things can be a hassle at first, but once it’s set up, it’s genuinely smooth to use. The version update features OpenAI added to Codex CLI are all pretty practical. Spending some time configuring them now will save you a lot of trouble later. If you found this helpful, give it a like and share it with friends who are still using the default config. Follow me for more AI programming tool tips, and see you in the comments!